From Damage Analysis to Material Testing, Simulation & Design

From Damage Analysis to Material Testing, Simulation & Design

You've come to the right place. My team and I are happy to support you promptly.
Dr. Andreas Mösenbacher

Team Failure Analysis

Send message

Characterization of Fatigue Behavior (LCF, HCF, TMF)

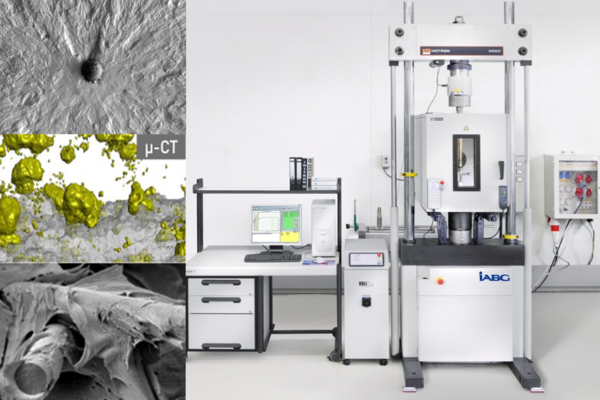
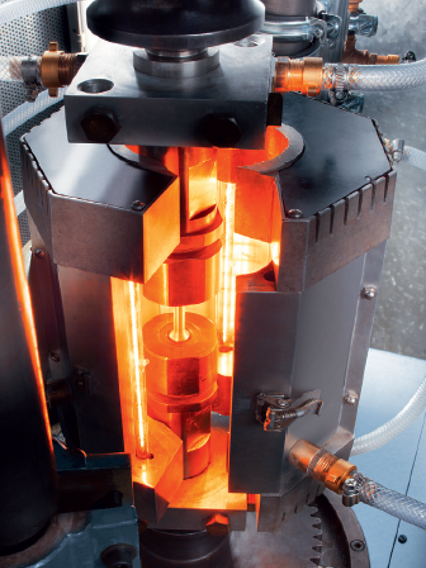
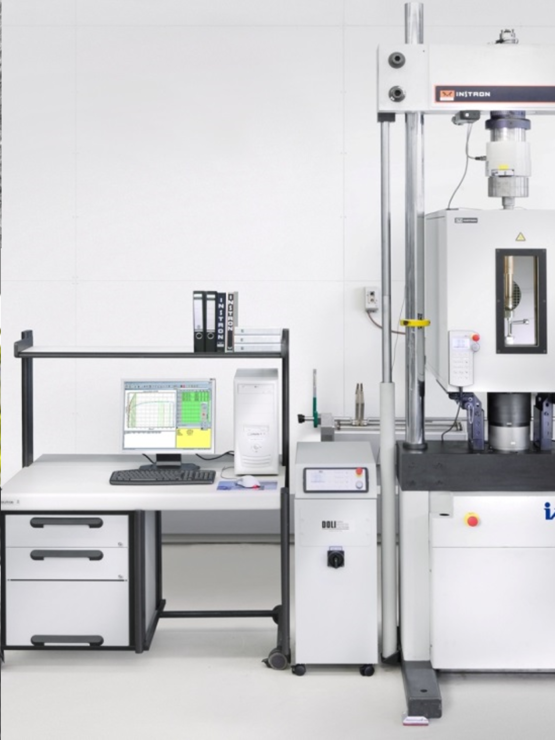
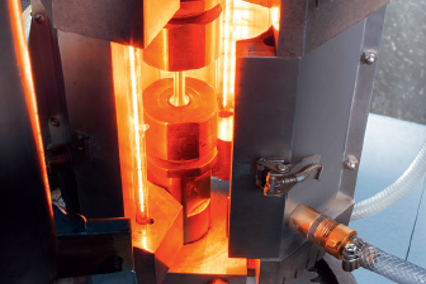
When describing the fatigue behavior using Wöhler curves, we basically differentiate between strain-controlled tests in the short-term strength range (LCF) and stress-controlled tests in the long-term strength range (HCF). The application of mechanical stresses and plastic strains through strain restraints at a controlled temperature corresponds to a thermomechanical fatigue test (TMF).

We can realize test loads between 500 N - 100 kN, test frequencies up to 130 Hz and test temperatures in the range between -196 °C and +900 °C.

Low cycle fatigue (LCF) testing: strain-controlled tests in accordance with ASTM E606 or ISO12106 and fatigue testing with a wide range of load types (tension, compression, shear)

Investigation of High Cycle Fatigue (HCF): Stress-controlled tests according to DIN50100, testing with a wide variety of load types (tension, compression, shear)

Investigation of thermo-mechanical fatigue (TMF):

  • Mapping of combined cyclic thermal and mechanical loads
  • Independent control for the application of cyclic thermal and mechanical loads
  • Heating/cooling rates of 5 K/s
  • Testing in accordance with the "Validated Code of Practice for Strain-Controlled Thermo-Mechanical Fatigue Testing"

Fracture Mechanics Material Characterization

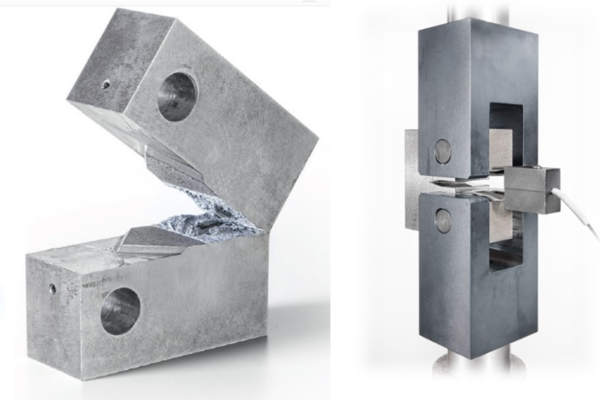
The precise determination of the fatigue crack growth threshold and crack growth (crack growth curve) is crucial for the development of defect-based design concepts (Damage Tolerant Design). We support you in test planning and defining optimal sample geometries.

In our accredited laboratory, we offer customized tests that can be performed at temperatures ranging from -196 °C to room temperature. Our services include sample preparation and conducting tests based on international standards:

  • Fracture toughness behavior according to ASTM E1820: Detailed analysis of linear elastic and elastic-plastic fracture behavior of metallic materials.
  • Crack growth behaviour according to ASTM E647: Precise characterization of linear elastic crack growth behaviour.
  • Efficient data acquisition: Use of modern application-specific measuring equipment such as crack measuring foils, crack gauges, crack opening extensometers and electrical potential probes for high-quality results.

Macroscopy & Stereoscopy

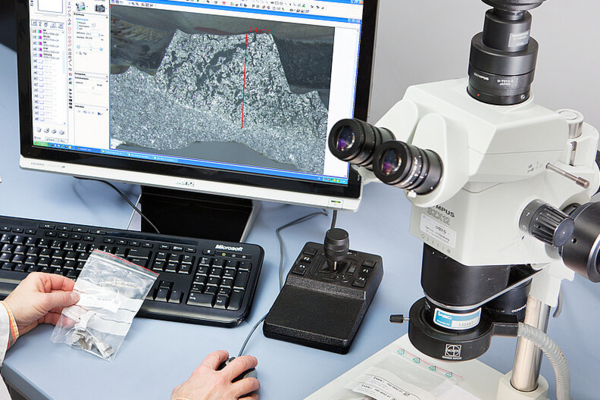
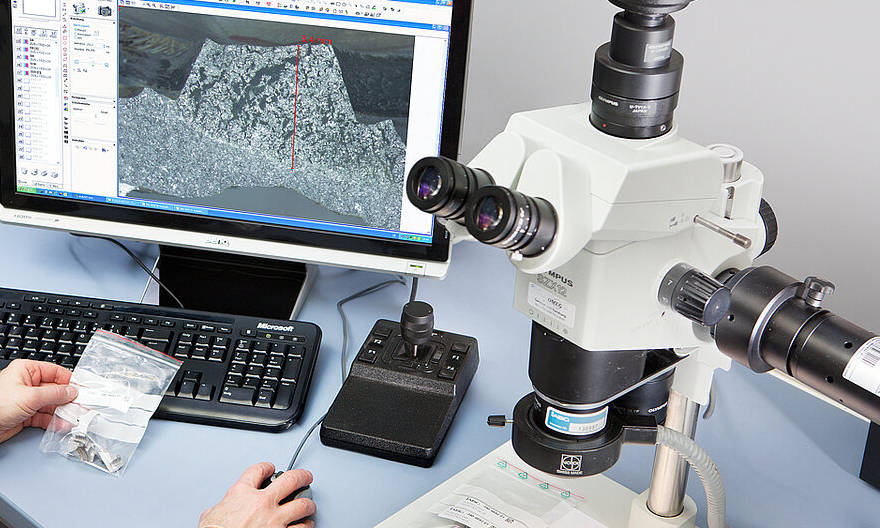
Our SLR cameras and the binocular stereomicroscope with a total magnification of up to 90:1 and the option for depth profile measurements enable a wide range of imaging possibilities for macroscopic documentation.

Digital camera systems capture the samples in overview and detail images at all stages of the investigation. State-of-the-art imaging technology, image processing systems, and databases facilitate numerous evaluations and appropriate archiving.

  • Macroscopic Component Documentation
  • Stereomicroscopic Examinations
  • Documentation of Test Setups and Procedures
  • Filming of Tests
  • Digital Image Analysis

Metallography & Materialography

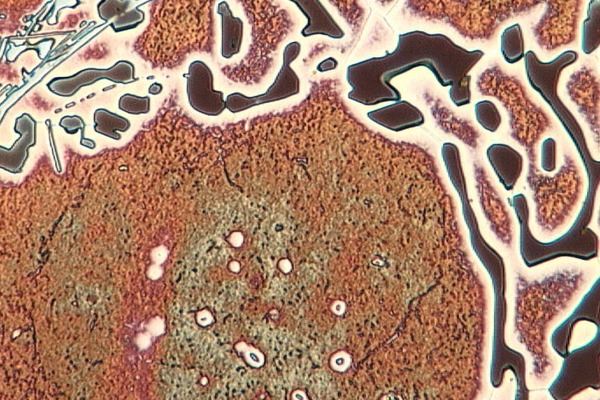
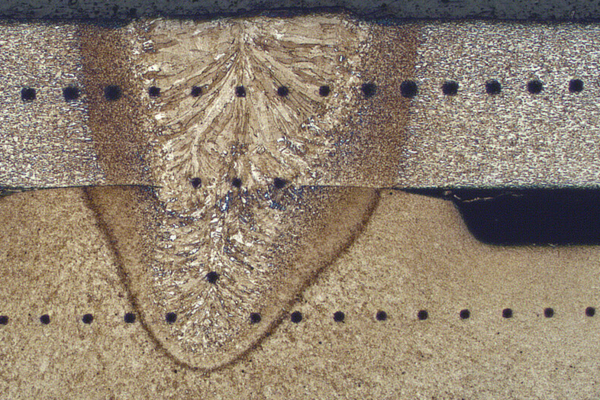
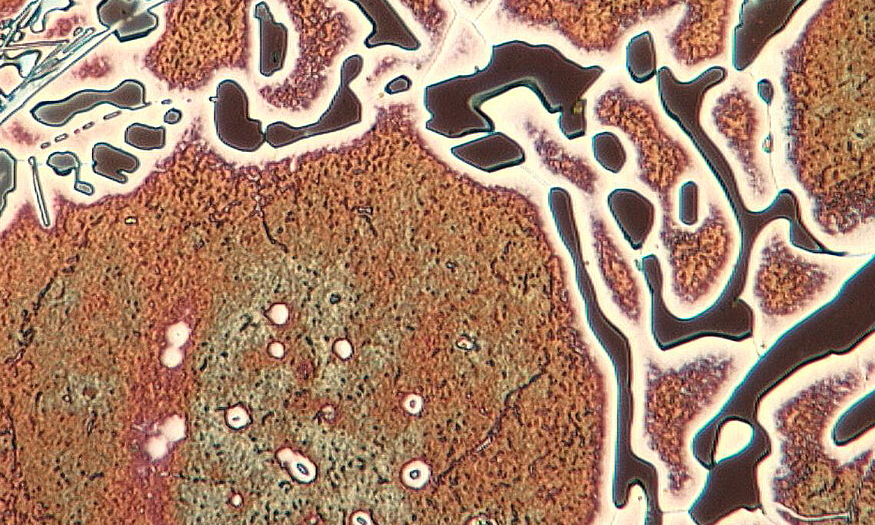
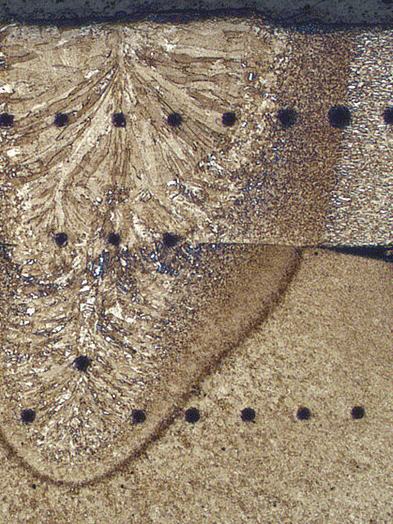
Examination of prepared metallographic sections is conducted across materials at light microscopes within a magnification range of 10:1 to 1250:1. Microstructural features, inhomogeneities and defects are documented with digital camera systems and integrated into an image-access database. We perform a wide range of analysis methods such as grain size determination, cast iron analysis, cleanliness and retained austenite determination according to specifications and standards.


Hardness Testing

The determination of material hardness on steels, light metals, plastics, elastomers and ceramics is carried out both mobile and stationary. We carry out the determination of surface hardness, core hardness and hardness curves on a customer-specific basis and/or in accordance with standards (CHD, RHT, NHT, DS). Macro and micro hardness tests are carried out on samples and components under various application loads from 0.01 to 250 kg/kp.

  • Brinell
  • Vickers
  • Rockwell
  • Leeb
  • Shear force
  • Shore A and D
  • IRHD Method M
  • Erichsen hardness test rod

Non-Destructive Testing (NDT)

On-Site Metallography

For large components and systems or for specific requirements regarding non-destructive microstructural evaluation and mechanical properties, we conduct on-site investigations. In addition to imprint techniques, surface preparation, light microscopic examinations and hardness testing (rebound method) are performed on the surfaces of the objects under investigation.

Fluorescent Dye Penetrant Testing (PT)

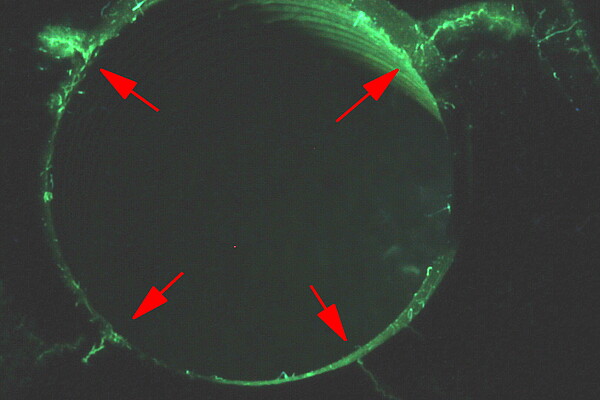
Fluorescent dye penetrant testing is a method for detecting surface-breaking flaws and can be applied independently of the material and component size, even locally. Evaluation and documentation are performed under UV light. Detected indications are assessed in a target/actual comparison and documented in a test report.


X-Ray Inspection

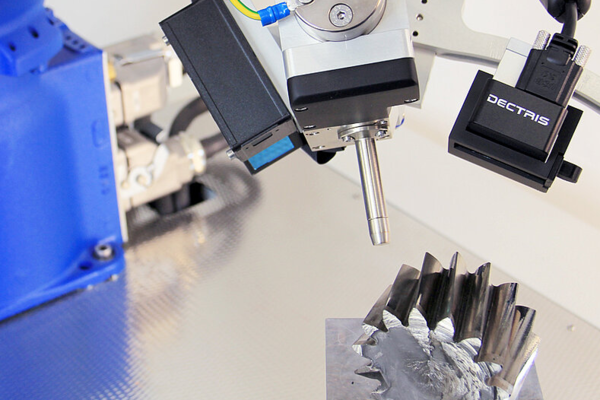
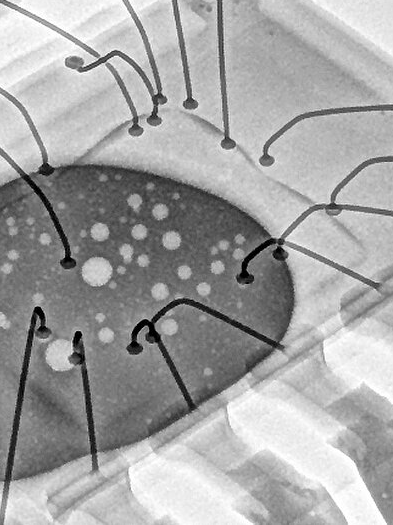
X-ray inspection is a non-destructive method for volumetric testing of plastics, ceramics, composites, hybrid materials and alloys. In addition to dynamic real-time testing, materials are examined for internal structures, defects and inhomogeneities.

2D Mode & X-Ray Tomography

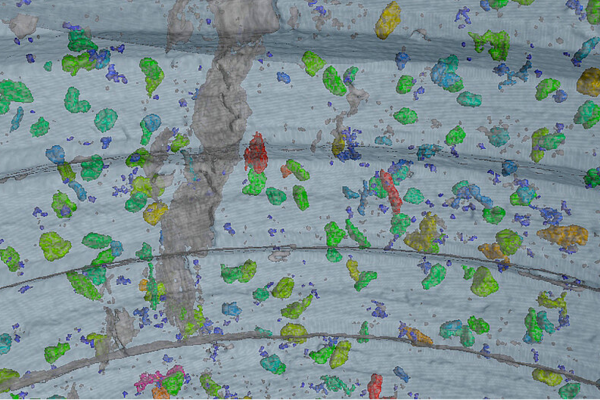
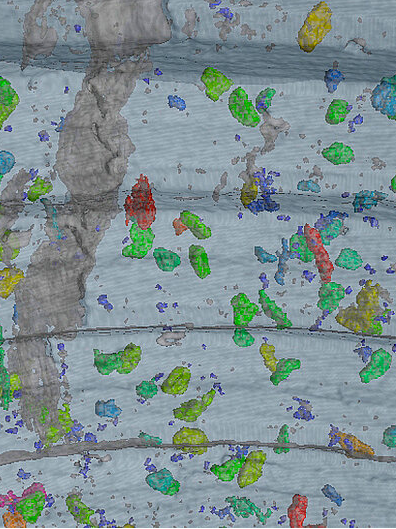
Digital images of samples, components and assemblies are generated in both 2D mode and through X-ray tomography. Detected structures are measured by length, area and volume. Comparing a scanned volume with an imported CAD file allows for a geometry comparison in the target-actual process. The real structures from tomography can be output as CAD data. Examination results are evaluated according to customer specifications and presented as images, videos and reports.

Cross-material testing of semi-finished products, samples, parts and components

  • Non-destructive volumetric testing
  • Dimensional measurement
  • Determination of real CAD data as a basis for calculations
  • Assembly inspection of complex devices
  • Characterization of defects
  • Characterization of composites and bonded materials
  • Method projects (customer-specific)

Chemical & Physical Material Analyses

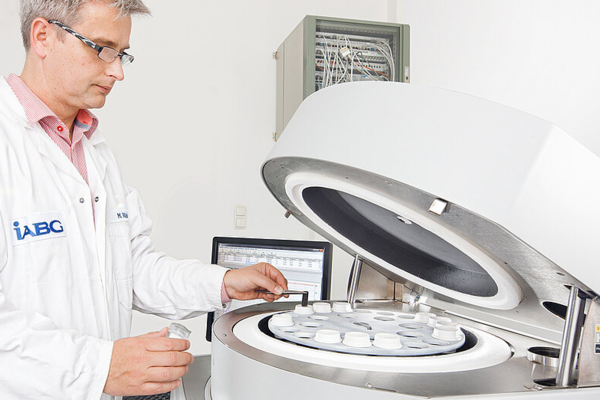
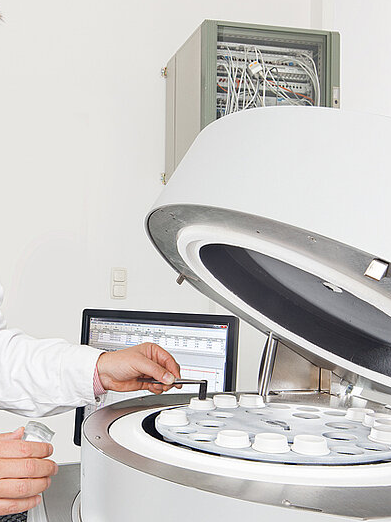
We use a wide range of analytical methods to reveal internal chemical and physical relationships across all materials. The spectrum of our analytics ranges from the identification of a material, an inorganic or organic solid, to the elemental analysis of trace elements and the elucidation of crystalline or molecular structures. Our range of services also includes the determination and evaluation of physical parameters such as glass transition temperature, residual stress states or fiber volume contents.

Material characterization of metals/alloys, plastics/organic compounds, ceramics, salts, liquids and composite materials:

  • Optical spark emission spectroscopy (spark OES)
  • Fourier transform infrared spectrometer (FTIR)
  • Gas chromatography with mass spectrometry coupling (GC-MS)
  • Time-of-flight mass spectrometry (ToF-SIMS)
  • Carrier gas hot extraction of the elements C, S, H, N, O
  • Differential scanning calorimetry (DSC)
  • Thermogravimetric analysis (TGA)
  • Dynamic mechanical analysis (DMA)
  • Density determination
  • Radiographic residual stress measurements
  • Photometric analyses
  • Coating tests
  • Compression set

Customer-Specific Special Tests

For applications that go beyond standard norms and guidelines, we offer individual consultation and specialized testing services. We support you in planning and conducting substitute tests that precisely and damage-equivalently replicate complex load conditions. Benefit from our extensive expertise and state-of-the-art technology:

  • Diverse measurement and control technology: a broad portfolio of high-precision equipment, guarantees reliable results.
  • Optical systems: We use GOM, ARAMIS or time-synchronized image acquisition for the determination of local strains, deformations or tracking of crack locations and crack progress.
  • Structural simulation: Precise determination of equivalent loads to simulate real loads.
  • Targeted preconditioning: Controlled pre-treatment of the test specimens for realistic test conditions.
  • Adaptation to your requirements: Implementation of specific environmental conditions for authentic test scenarios.

Trust in our expertise for custom special tests tailored exactly to your needs. Together, we realize innovative and reliable testing procedures that make your products safer and more efficient.

Contact